
Continued from the previous post
We continue from the previous post . We had previously made the layouts and the Activity for the contents we will display in the Tabs one by one . Now we will merge these Activities in the Tabs .
Step 10 : We write the code shown below in the class MainActivity.java found in the src directory of your project .
MainActivity.java
Step 11 : Run the project .
Click on the TAB1 to get first page .
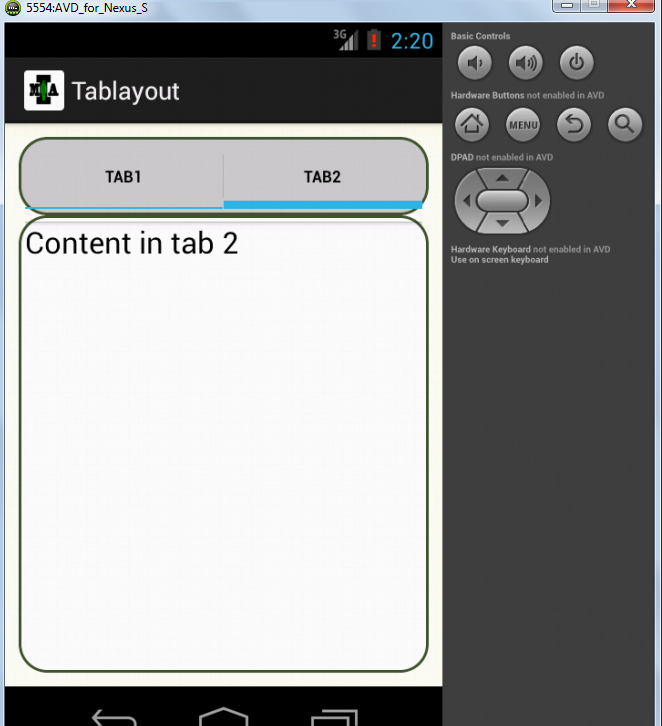
 Click on TAB2 to get second page .
Explanation of the code :
We continue from the previous post . We had previously made the layouts and the Activity for the contents we will display in the Tabs one by one . Now we will merge these Activities in the Tabs .

Step 10 : We write the code shown below in the class MainActivity.java found in the src directory of your project .
MainActivity.java
package com.mia.tablayout;

import android.app.TabActivity;
import android.content.Intent;
import android.os.Bundle;
import android.widget.TabHost;
import android.widget.TabHost.TabSpec;

@SuppressWarnings("deprecation")
public class MainActivity extends TabActivity {

    @Override
    protected void onCreate(Bundle savedInstanceState) {
        super.onCreate(savedInstanceState);
        setContentView(R.layout.activity_main);

        TabHost tabHost=getTabHost();
        //First Tab
        TabSpec firstspec=tabHost.newTabSpec("Tab1");
        firstspec.setIndicator("Tab1");
        Intent human=new Intent(this,Tab1.class);
        firstspec.setContent(human);

        TabSpec secondspec=tabHost.newTabSpec("Tab2");
        secondspec.setIndicator("Tab2");
        Intent animal=new Intent(this,Tab2.class);
        secondspec.setContent(animal);

        // Adding all TabSpec to TabHost
        tabHost.addTab(firstspec); // Adding first tab
        tabHost.addTab(secondspec); // Adding second tab
    }
   }
Step 11 : Run the project .
Click on the TAB1 to get first page .
Explanation of the code :
- First we made two xml files (bg_tab and bg_tabwidget) under drawable folder which defined the looks or styles of the tab and the frame in which the pages are displayed respectively .
- We defined activity_main.xml where we used TabHost as our parent element which actually gives the look of the Tab format to our project .
<TabHost
xmlns:android="http://schemas.android.com/apk/res/android" - See more
at:
http://madeinandroid.blogspot.in/2014/07/making-tab-layout-in-android-part-1.html#sthash.TqlXsZtJ.dpuf
<TabHost xmlns:android="http://schemas.android.com/apk/res/android"
- We also used a TabWidget which displays the tabs in an ordered manner .
<TabWidget android:id="@android:id/tabs"
- Then we used FrameLayout which reserves space for the pages to be displayed when we run the project .
<FrameLayout android:id="@android:id/tabcontent"
- Then we made the layout of our pages to be displayed after we click the respective Tabs
- We also defined the Activity class of these above two layouts .
- At last we defined the content of MainActivity class which extends TabActivity class so that we can use the predefined methods from the class TabActivity .
public class MainActivity extends TabActivity
- We decide the layout for MainActivity, the activity_main by passing it to setContentView method
setContentView(R.layout.activity_main);
- We make object of TabHost which we made in activity_main.xml and we use it further .
TabHost tabHost=getTabHost();
- We use unique TabSpec objects for different tabs which contains indicator which is unique identifier for different tabs .
TabSpec firstspec=tabHost.newTabSpec("Tab1");
        firstspec.setIndicator("Tab1");
        Intent human=new Intent(this,Tab1.class);
        firstspec.setContent(human);
and also the Intents for linking them to the respective classes .
- We then just add the objects of tabSpec to TabHost by using addTab() method .
tabHost.addTab(firstspec); // Adding first tab
        tabHost.addTab(secondspec); // Adding second tab
Stay Tuned with Made In Android


No comments:
Post a Comment